Curry Without the Hurry
Sometimes we can add a little creativity and time to an ordinary Thai curry dish and a magic spell happens. When you bring the food to the table it produces a touch to the heart as well as a gastronomic experience. When I returned home for a visit, my mom’s kitchen invoked a fond memory of her preparing stuffed southern style eggplant in Phuket red curry sauce — her specialty. The Thai people often speak the language of the heart with food, and I remembered well those days of a warm welcome home. My version of stuffed sweet peppers in green curry sauce was prepared and served at my family table here in Seattle. I took a few photos, knowing that one day I would share this curry recipe so that you could try this curry without the hurry: Braised Stuffed Sweet Peppers in Thai Green Curry.

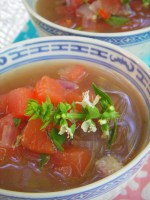
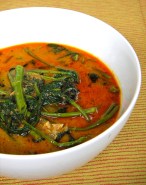
Braised Stuffed Sweet Peppers and Thai Eggplant in Green Curry
With only a little effort you can surprise someone with a memorable result when you prepare Braised Stuffed Sweet Peppers in Green Curry Sauce. I chose to make this dish with the mini bell peppers that are available in the market all year round so you can enjoy this recipe at any time. My favorite times for preparing this dish is in the fall when local varieties of sweet peppers are available, or in the winter when the weather is cold, but the kitchen is cozy and warm. You can cook without the hurry—just let the peppers simmer away without the worry and enjoy the fragrance throughout your kitchen.

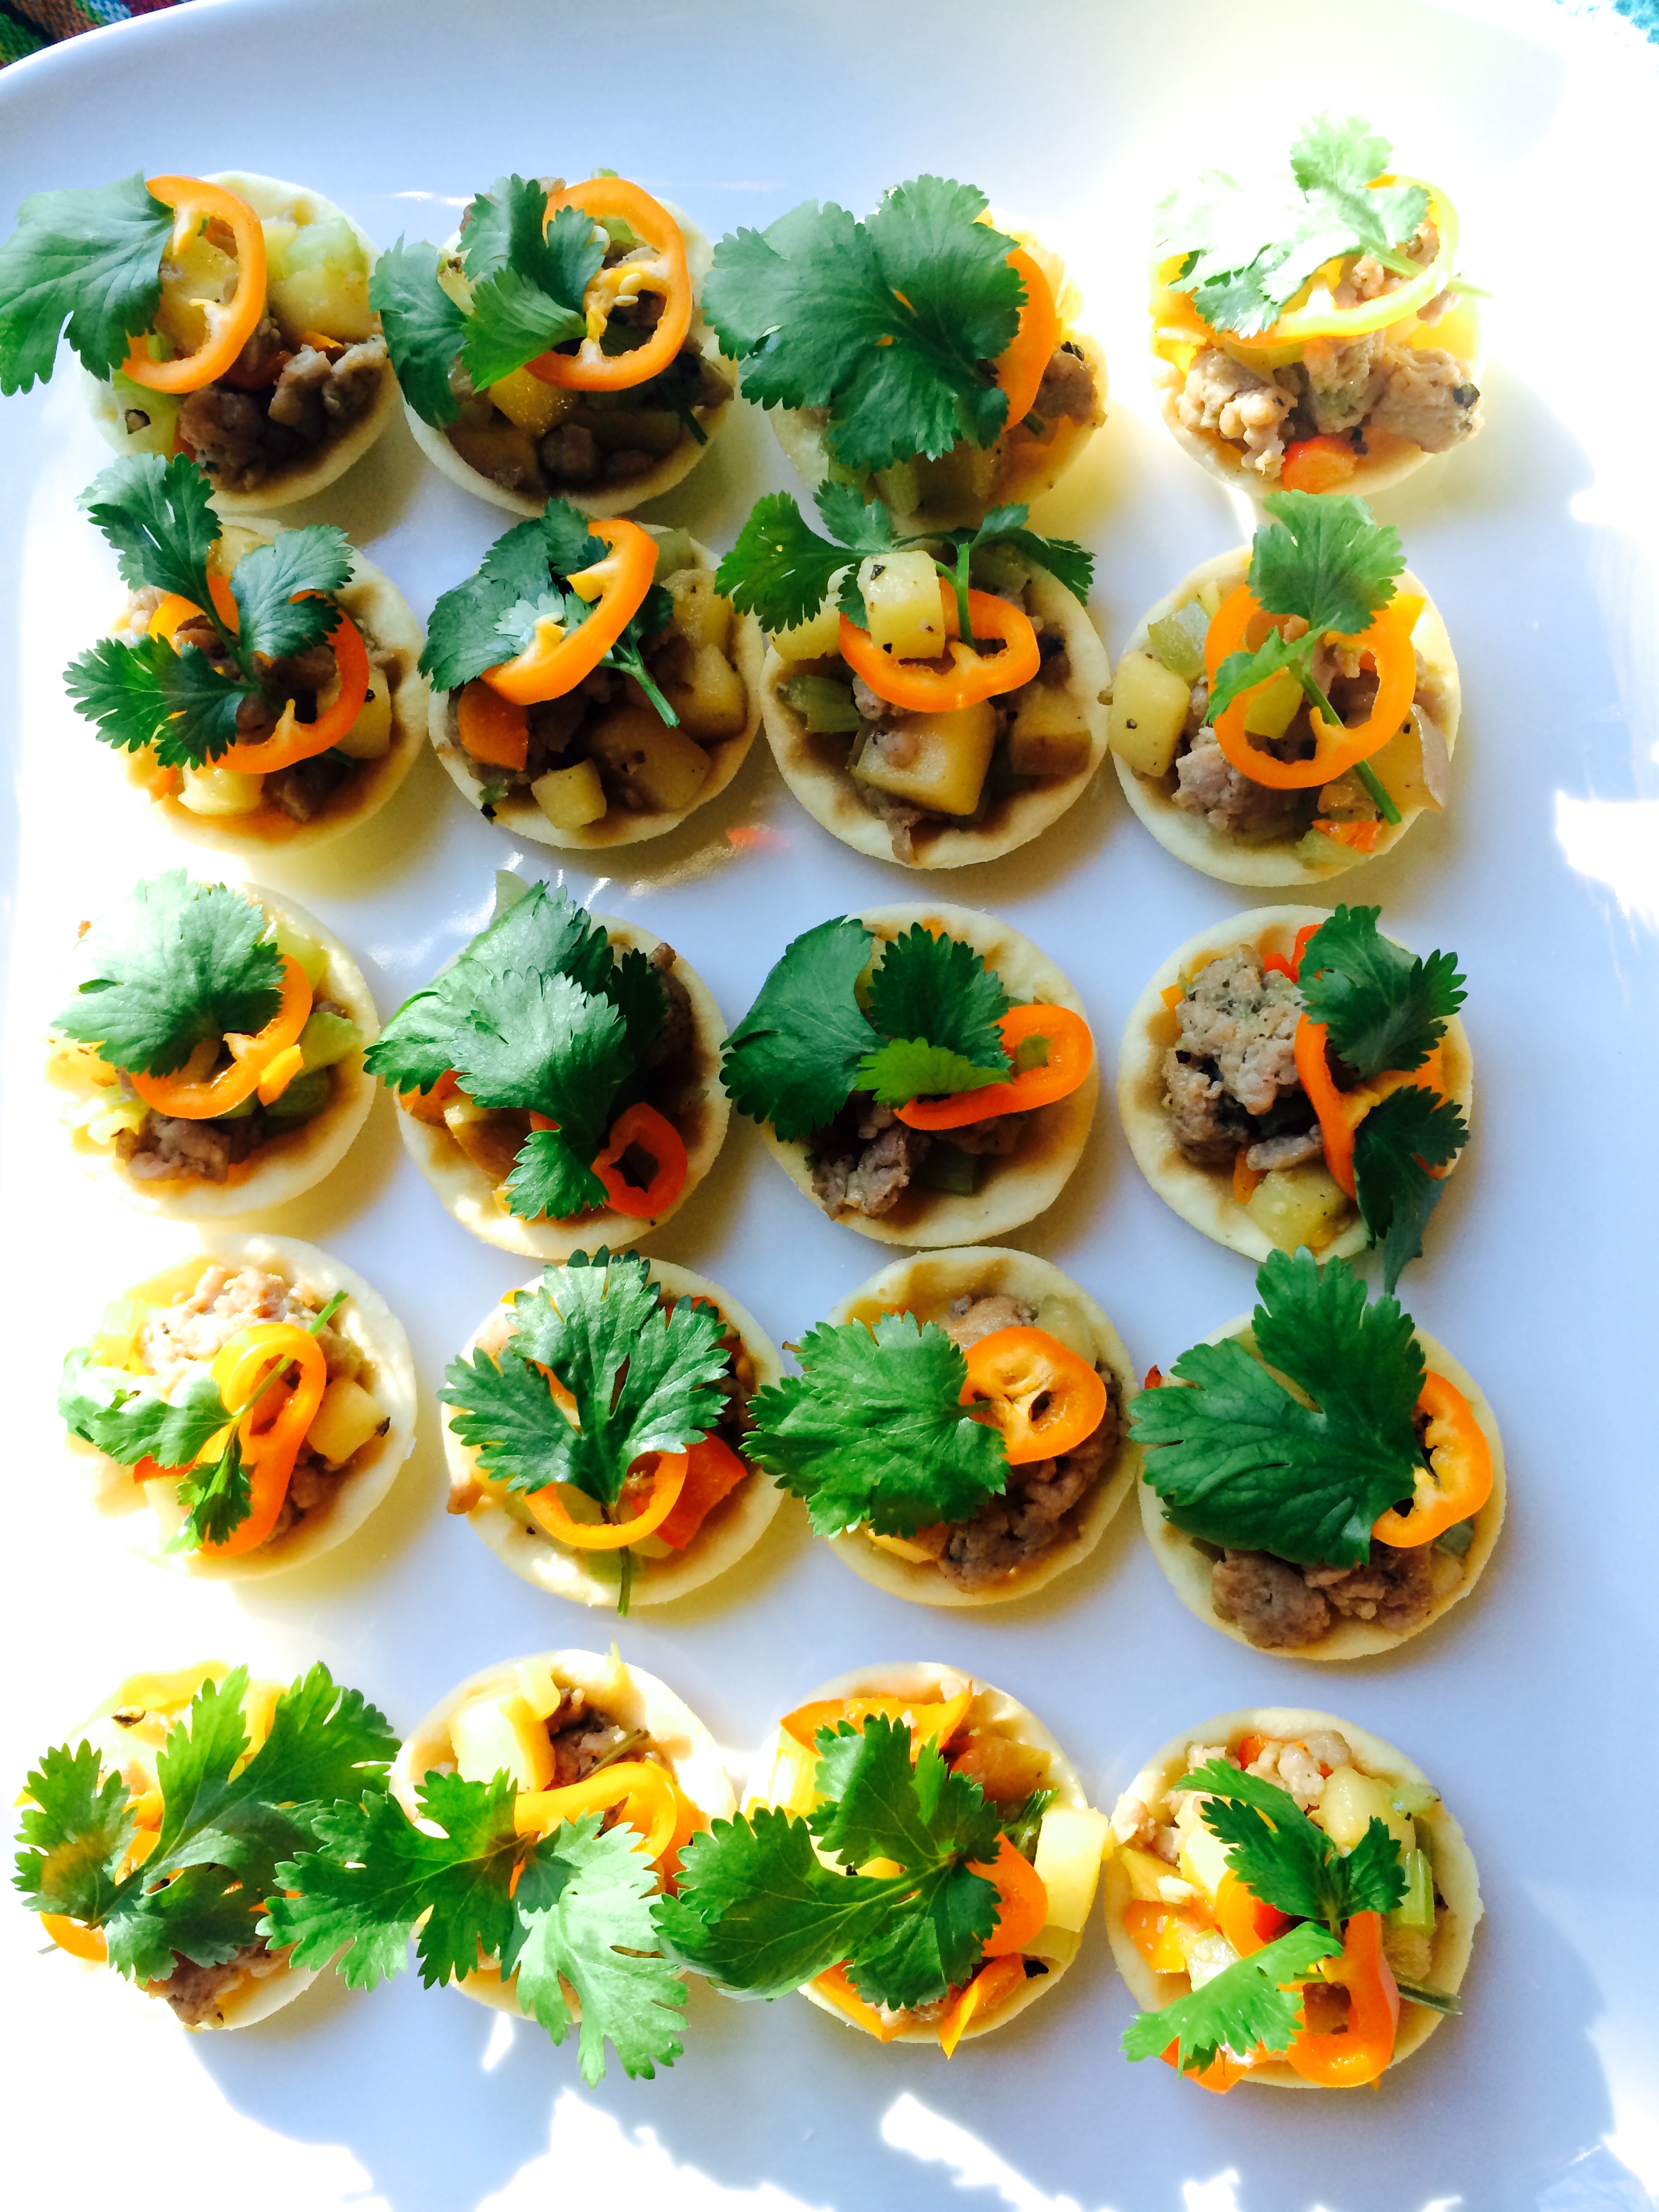
Stuffed Sweet Peppers
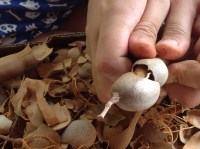
Use a paring knife, slit the peppers on one side and open them with one straight line the length of pepper. Using your thumb, press at the bottom and with your index finger press at the top, squeezing the pepper to make it open up. Remove the seeds then stuff in the meat mixture. If desired, you can complete this step ahead of time and keep the stuffed peppers in the fridge until you are ready to cook them.

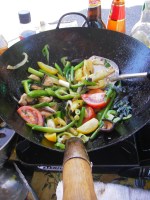
Thai Eggplant
Thai eggplant is a typical vegetable to add to green or red curries. You can make this recipe with or without them. Simply remove the stems and cut each of them into 6 wedges. Soak the wedges in salted cold water to prevent the eggplant from turning brown. Drain them just before adding to the curry.
Gaeng Keow Wan Prik Yad Sai
Stuffed Sweet Pepper Green Curry
แกงเขียวหวานพริกยัดไส้
I love to prepare this dish and once taught it to my Seattle area students during the winter months. The best part is letting the stuffed sweet peppers braise away in the green curry sauce. Don’t worry about the time, the curry has a way of telling you when it is ready when the fragrance of the sweet coconut milk, spices and herbs reach their highest level.
Serves: 4 to 8
8 small, whole mini sweet peppers, or Anaheim peppers
1 clove garlic, peeled
1 tablespoon chopped cilantro stems
5 black peppercorns
1 pinch of salt
½ pound coarse-ground chicken
1½ cups coconut milk
2 to 3 tablespoons green or red curry paste
4 kaffir lime leaves or lime peel
4 Thai eggplants, please see the preparation above
½ to 1 tablespoon sugar
1 teaspoon fish sauce, as needed
¼ cup basil leaves
Use a paring knife to slit open peppers on one side with one straight line the length of pepper. Then use your thumb at the bottom of the pepper, and your index finger at the top to squeeze them open; remove the seeds.
Place garlic, cilantro stems, black peppercorns and salt in a mortar. Pound with a pestle until they become a paste. Place into a medium-size bowl with the ground chicken and mix well. Stuff the meat mixture into the peppers and set aside. (This step can be done ahead of time and the stuffed peppers kept in the fridge until ready to cook.)
In a saucepan on medium-high heat, bring ½ cup of coconut milk and green or red curry paste to boil; stir well. Let the mixture cook until the oil separates and curry is fragrant, about 5 minutes.
Add kaffir lime leaves or lime peel and stuffed peppers to the mixture. Add the remaining 1 cup coconut milk to cover all ingredients; bring to a boil. Let cook on medium-low heat for 8 minutes, then stir in Thai eggplant and keep cooking until the chicken filling is cooked and the peppers are soft, about 7 minutes. Check the center of the stuffed pepper to make sure chicken is done, then stir in sugar, fish sauce and basil leaves. Bring mixture to a boil and remove from heat. Serve with steamed jasmine rice.


 roots, the Taínos' main crop")