East Meets West Salad Dressing
I have been gone from regularly writing in my blog and would like to thank you for your patience. I haven’t forgotten it. In fact, there are many posts with photos and recipes waiting in line! Finding time to focus on writing has been most challenging as I am thinking in two languages but must write it in only one. Here is the Sweet Chili Vinaigrette Recipe that I promised to recreate after the Thai Dinner at Dog Mountain Farm last fall. Finally last month I had a scrap of paper in my hand with my notes on the ingredients and quantities and all of the necessary ingredients in my kitchen. With a little fine tuning, Sweet Chili Vinaigrette is now ready to share with you to help you welcome summer. This delicious dressing has been enjoyed by my friends and family. It is good for easy entertaining as well as for an every day salad dressing. It is a Western dish with an Eastern twist!
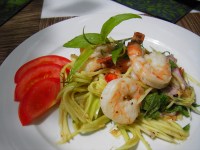
Mixed Salad with Sweet Chili Vinaigrette
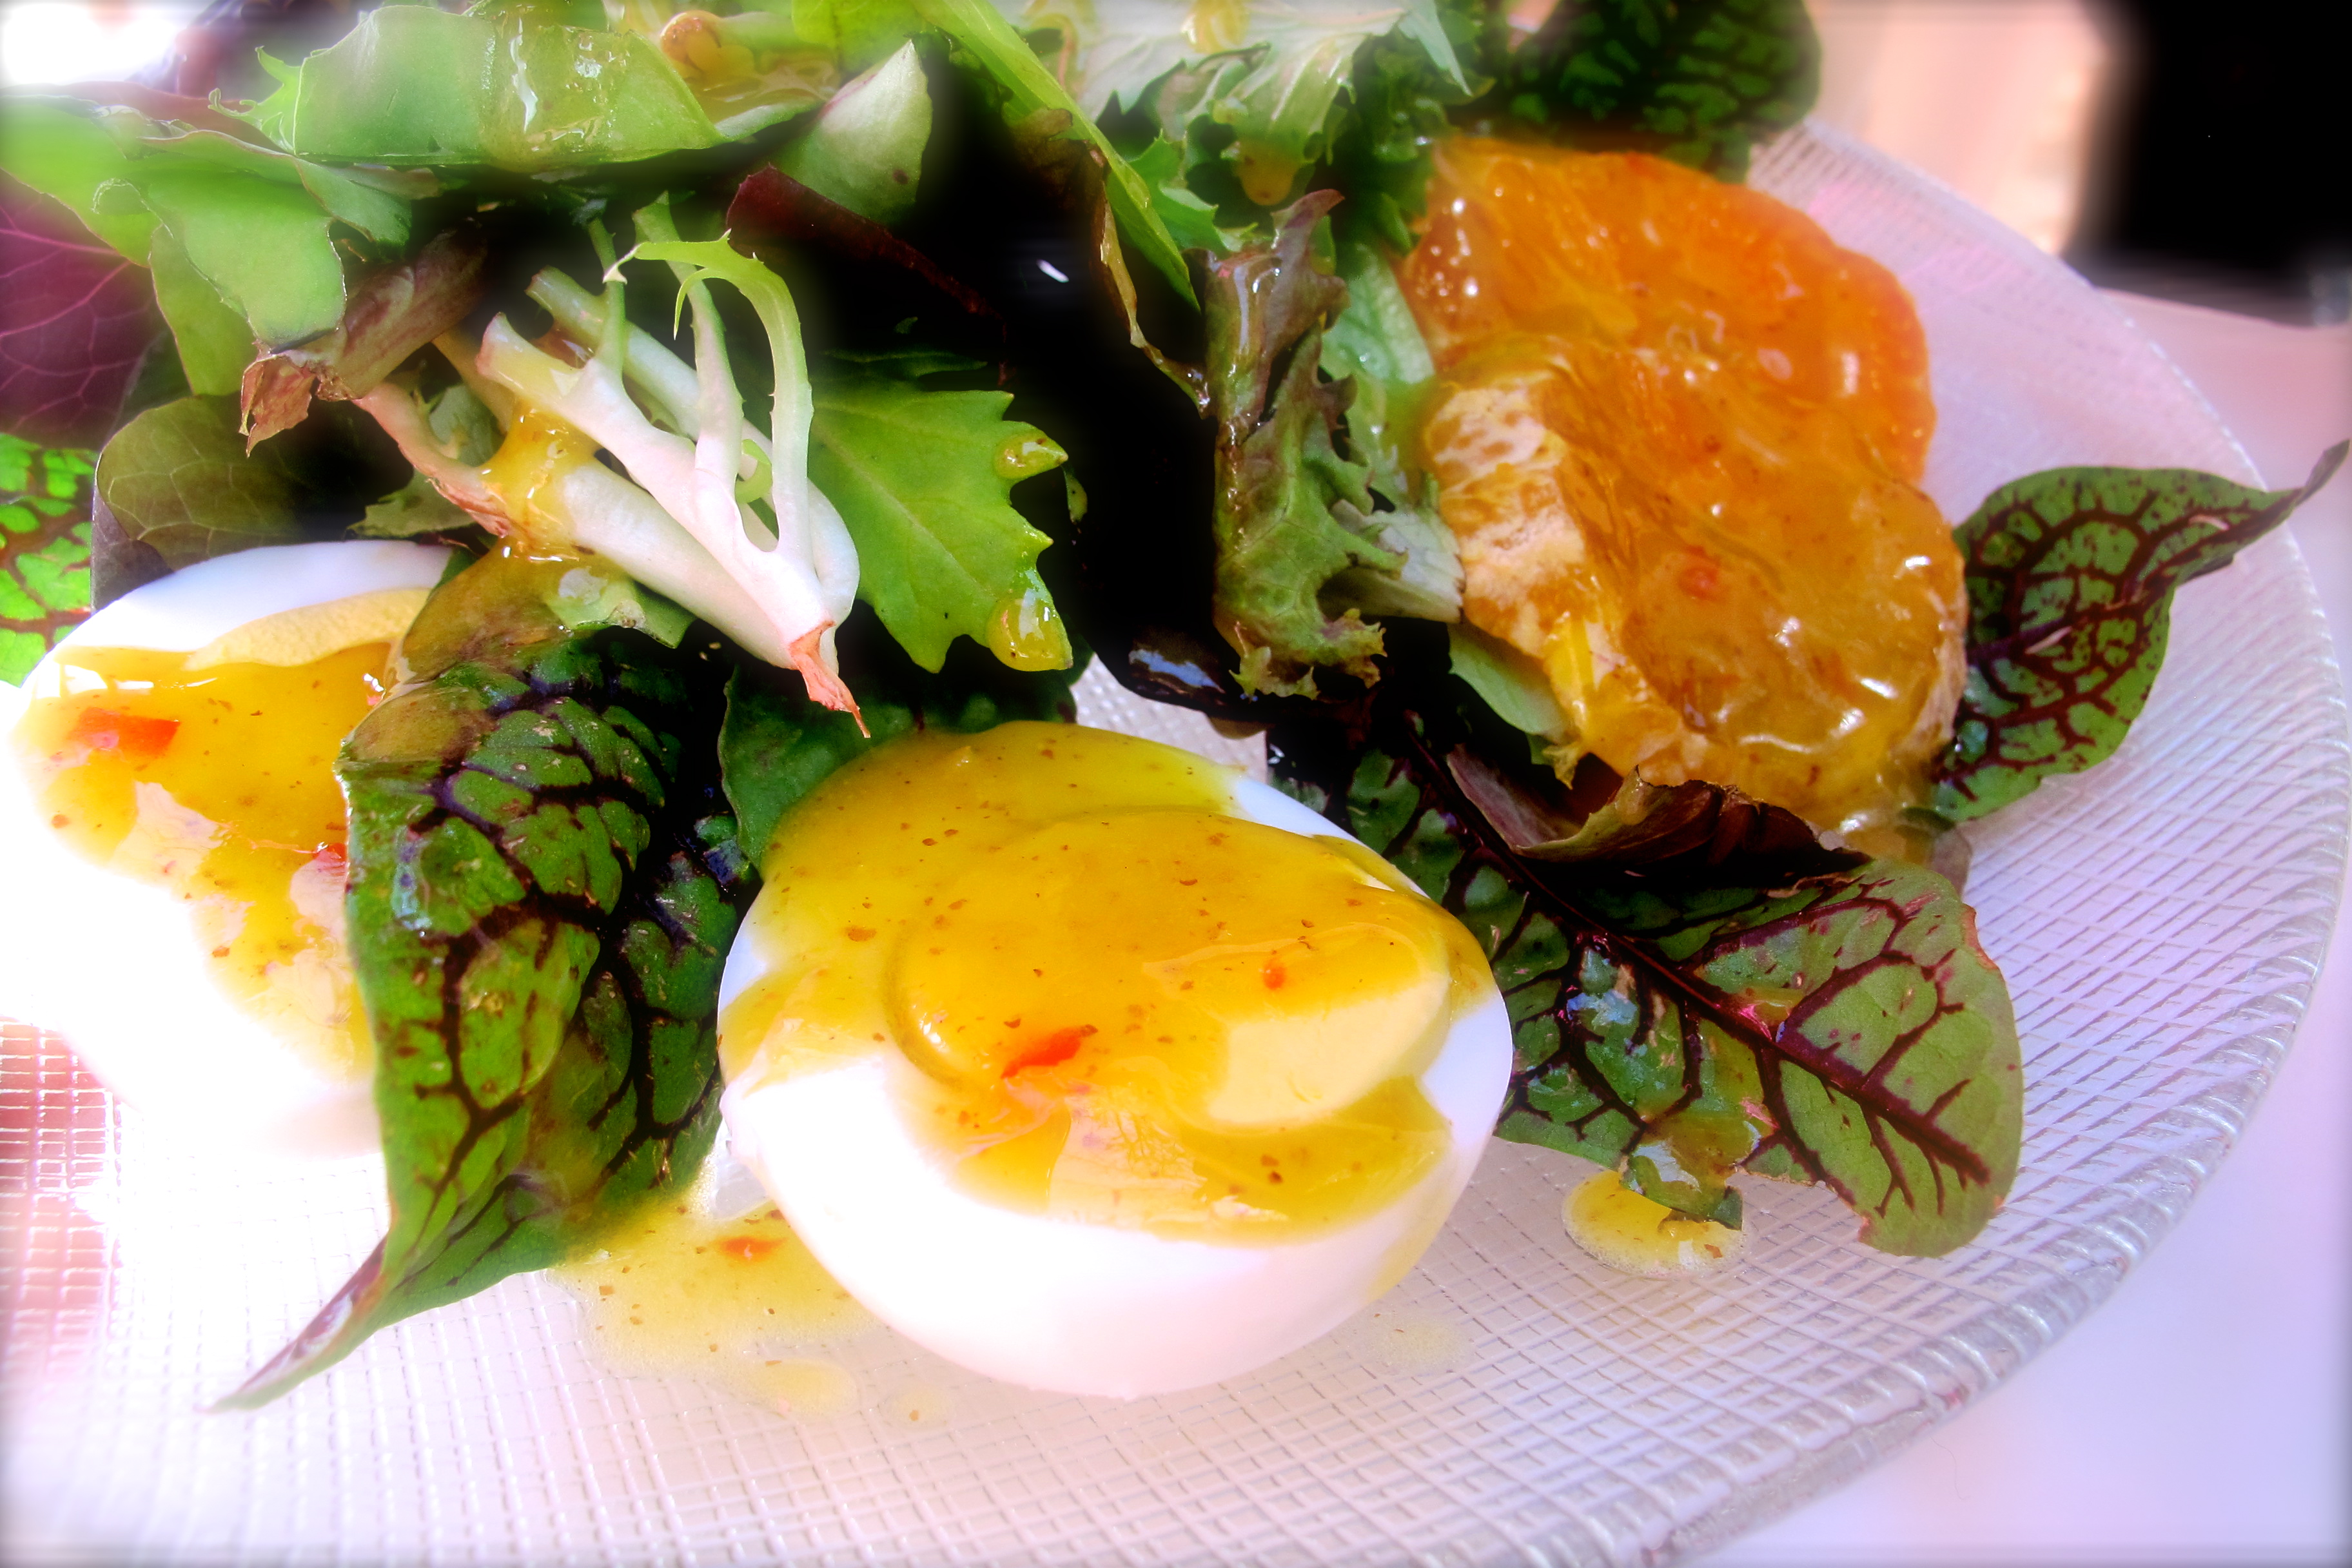
Just two weeks ago I was lucky to have Sylvie, a French chef, caterer and the owner of Sylvie Cooks for lunch. While I prepared Asparagus & Lovage Soup, Sylvie helped me prepare the salad and sweet chili vinaigrette. Thirty minutes later we were enjoying the soup and salad in the warm sunlight on the deck. Thank you to Sylvie for a great presentation on plating the salad. In the photo I use an organic mixed green salad with a few fresh red sorrel leaves from my garden, a hard-boiled egg and a mandarin orange.

Mixed Salad Green, Hard-Boil Egg and Mandarin Orange with Sweet Chili Vinaigrette
Having friends over for lunch should be fun and casual. In my case it is often spontaneous in time and cooking style as well.

Sweet Chili Vinaigrette
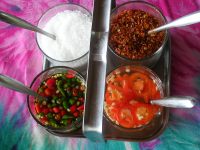
My Thai take on a vinaigrette when cooking for friends and family is not constrained to just one tradition. In fact, this is not a traditional Thai recipe but a study of the tastes of Thai ingredients co-existing with Western cuisine. It illustrates for students and blog followers that often we can take one ingredient beyond where we usually find it. In this recipe I use the Thai sweet chili sauce, fish sauce and lime juice that I would use in traditional Thai salad dressing (nahm yum) and combine them with the ingredients for a classic vinaigrette such as olive oil, vinegar and mustard.
The forecast for Seattle promises a long week of sunshine and warm weather, so I will prepare hard-boiled eggs and sweet chili vinaigrette again tonight and keep them in the fridge. For dessert, I will prepare Yangon Almond Pancake to serve with strawberries and whipped cream.
Sweet Chili Vinaigrette
น้ำสลัด
Sweet Chili Vinaigrette is easy to love and easy to adapt. The flavor is great—you will hardly recognize the fish sauce or sweet chili flavor, just a nice balance of sweet and salty. The fish sauce is used here in much the same way as a French vinaigrette uses anchovy. The sweet chili sauce has complex ingredients like garlic and chili, but is also just a plain sweet contribution. I love the tangy flavors of the vinaigrette. I recommend adding toasted sesame seeds to the dressing or to the salad itself to bring out more flavors of sesame oil and an essential oriental flavor and texture.
Yield: 1/2 cup
2 tablespoons sweet chili sauce 2 tablespoons lime juice 1 tablespoon coconut vinegar or white wine vinegar 1 tablespoon fish sauce 1/8 teaspoon sea salt 1/4 teaspoon white or black pepper powder 2 teaspoons dijon mustard 2 tablespoons toasted sesame oil 2 tablespoons extra virgin olive oilWhisk sweet chili sauce, lime juice, coconut vinegar, fish sauce, sea salt, white pepper powder, mustard in a medium size bowl until well blended, about 30 seconds. While whisking rapidly with one hand, use the other hand to pour in the sesame oil and olive oil. Continue whisking for 1 more minute to emulsify the dressing. An alternative method is to place all of the ingredients in a salad dressing bottle and shake well, then shake well again before serving with your choice of salad.
© 2012 Pranee Khruasanit Halvorsen I Love Thai cooking Pranee teaches Thai Cooking classes in the Seattle area. Her website is: I Love Thai cooking.comRelated Articles:
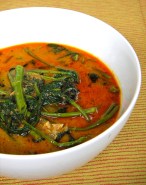
- Asparagus & Lovage Soup (praneesthaikitchen.com)
- Grilled Asparagus with Lemongrass Vinaigrette (praneesthaikitchen.com)
- Wild Orange Vinaigrette (beyondessential.com)
- Best French Vinaigrette (joannagoddard.blogspot.com)
- Yangon Almond Pancake (praneeskitchen.com)