The Best is on the Top and in the Middle
Like custard, caramel grated coconut has a goodness that has many uses and places in dessert creations. I have a place in my heart for this sweet coconut delight. I chose an English name for this coconut dessert topping and filling – Caramel Grated Coconut – Sai Maprow -ไส้มะพร้าว – Nah Maprow – หน้ามะพร้าว. Its caramel taste, either as a topping or as a filling, heightens other desserts. I hope you enjoy reading on to discover the uses of this delightful sweet caramel grated coconut in many Thai and Southeast Asian desserts. The recipe follows. It has carefree steps and just two ingredients: grated coconut and sugar (plus a little salt).
Stella’s Caramel Grated Coconut – Sri Lanka
Last week I set aside a day to create just one dessert dish – Khanom Sod Sai – ขนมสอดไส้ – Steamed Coconut Cream Pudding with Caramel Grated Coconut Filling. This dessert involved many steps. The preparation, note taking, photographing, and final cleaning took over 6 hours. I love special days like this when recreating a dish reconnects me with my early learning experiences in my family’s kitchen.

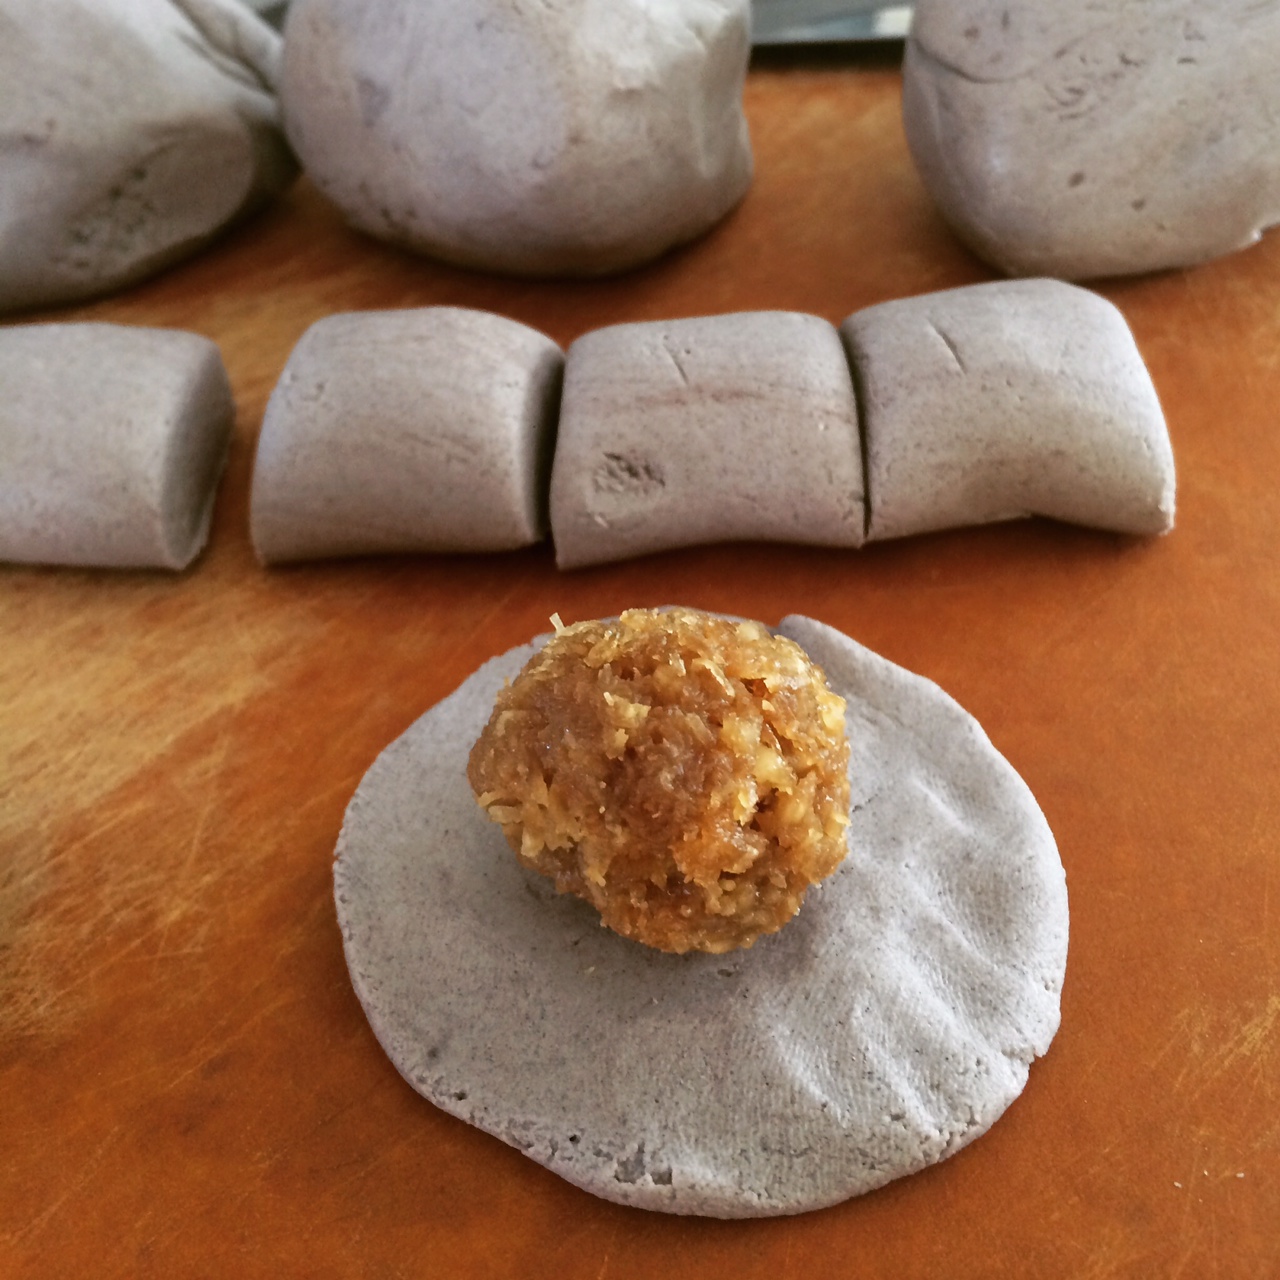
In the middle. Sai Maprow -ไส้มะพร้าว Caramel Coconut ball is placed inside a sticky rice dough for Khanom Sod Sai and Khanom Tom
However, today I will share with you just one part of the recipe for Khanom Sod Sai, that is the Thai caramel grated coconut. It is a quintessential part of Thai desserts and for other Southeast Asian cuisines as well. There are many intriguing steps, but demystifying them will help you find ways to incorporate this treat in your cooking. Please share your experiences in the comment box below.
Caramel Coconut – Sai Maprow (filling) -ไส้มะพร้าว – Nah Maprow (topping) – หน้ามะพร้าว
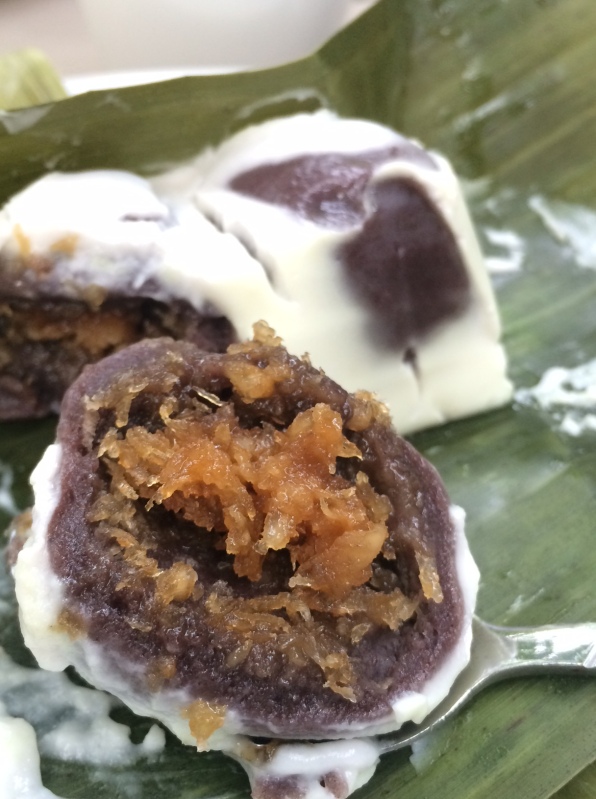
In the middle. Caramel coconut ball with a purple sticky rice dough and coconut cream in Khanom Sod Sai
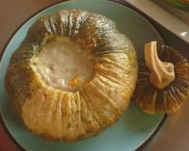
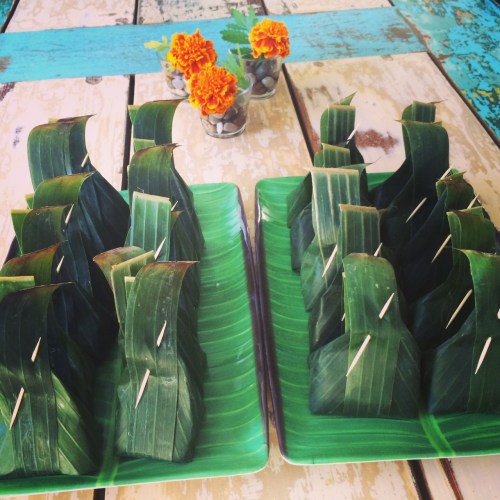
The above picture is of Khanom Sod Sai. The caramel coconut ball is placed in the middle of a sticky rice dough, which is then wrapped around it before being steamed with coconut cream pudding in a banana leaf. This is similar to Khanom Tom Khao, where the caramel coconut ball is placed in the middle of the dough, which is then boiled and rolled in coconut flakes.
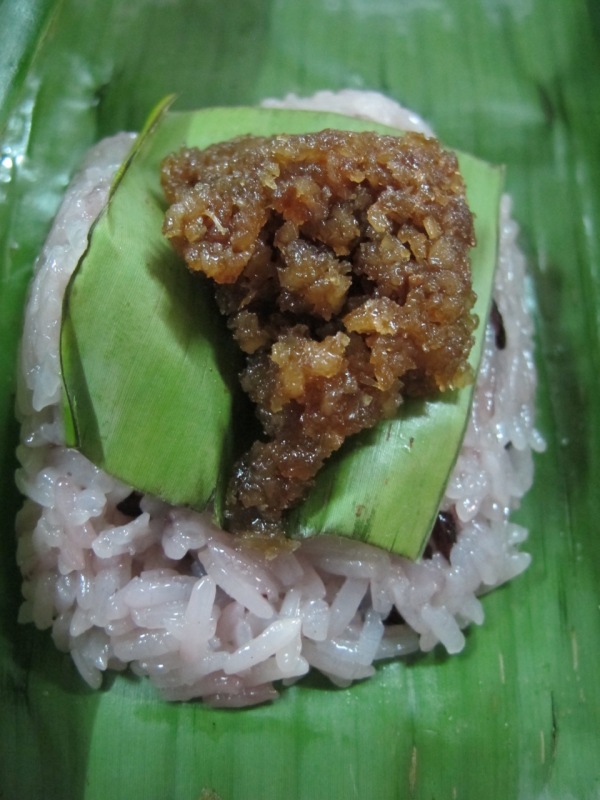
On the top. Nah Maprow – หน้ามะพร้าว The caramel coconut is placed on top of sticky rice.
In Nah Maprow, the caramel coconut is placed on top of a small piece of banana leaf, which is then lifted up and used to spread the caramel coconut on top of sticky rice before savoring the combination. In Phuket, this dessert is called Khao Neow Nah Cheek – ข้าวเหนียวหน้าฉีก. I typically enjoy this for breakfast when visiting home.
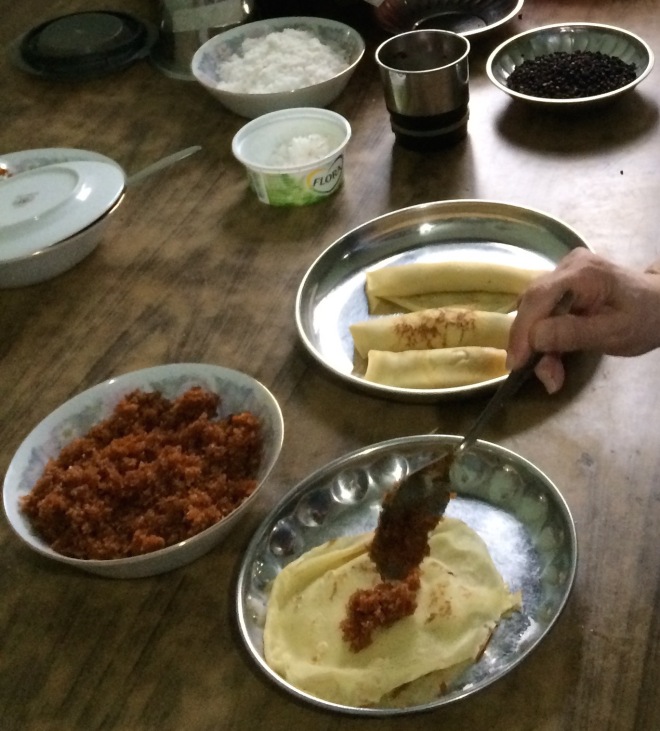
Caramel Coconut as a filling for Sri Lanka Pancake
In 2014, I visited the cities of Colombo and Galle in Sri Lanka and traveled to many beautiful places with a friend. Near Ratnapura we learned about Sri Lanka cuisine from Stella, our personal tour guide’s sister. We spent a half day with her family in their kitchen. For dessert, Stella showed us how to make caramel coconut to use as a filling for Sri Lanka crepe. I would like to express my gratitude to Stella for teaching and inspiring me and for sharing her techniques for creating this recipe again with ease.
Step-by-Step: How to Make Thai Caramel Coconut
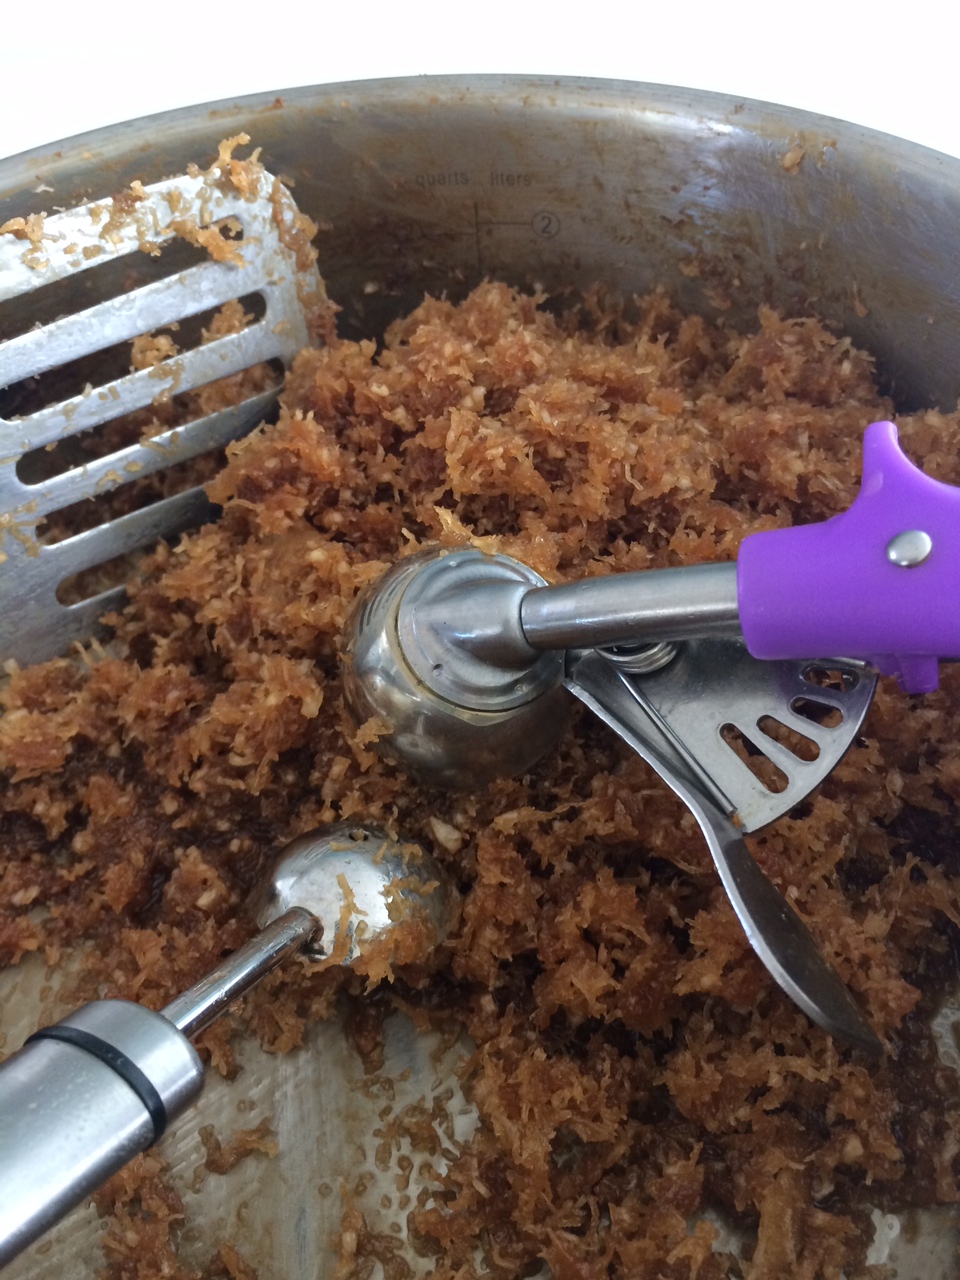
There are two ways to make caramel grated coconut for Thai desserts. The first way is to mix—either by hand or with a utensil—brown sugar, fresh grated coconut and a touch of salt until they are well incorporated, then pan fry them until the sugar is caramelized and absorbed into the coconut. A second method is to add a little water to the sugar and heat it until it melts. Continue cooking until the sugar burns slightly and has a hint of caramel color, then add fresh or frozen grated coconut. Stir well until the sugar and coconut are well combined and the coconut is coated with the brown caramelized sugar.
My family and most home cooks in Thailand use the first method, whereas culinary professionals and merchant use the second one. The latter has a more intense caramel flavor, depending on how much you let the sugar burn, and it also has more affect on the color of the coconut. Personally I love the second version, show below, which is also the fastest and easiest.

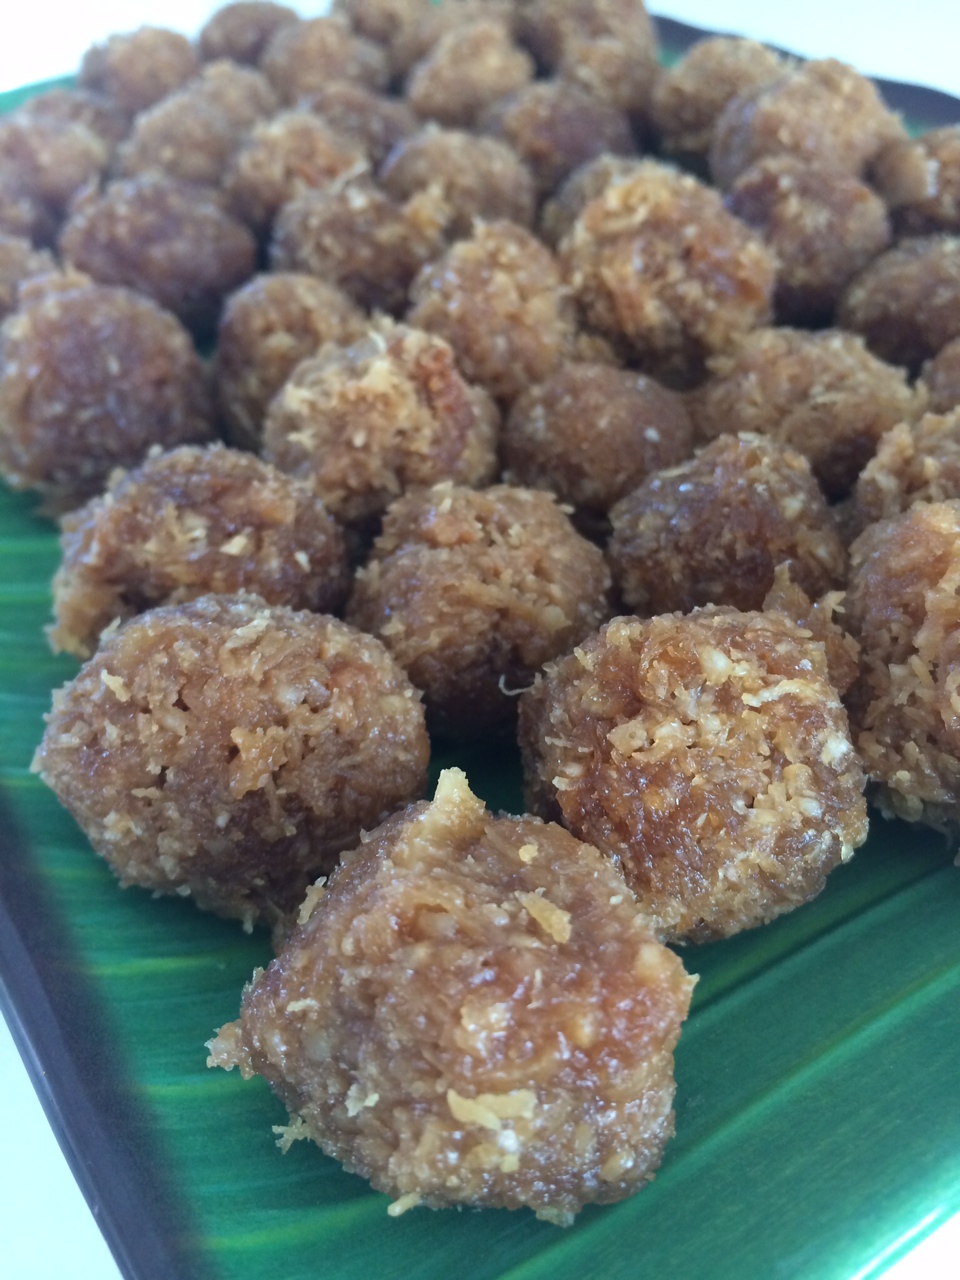
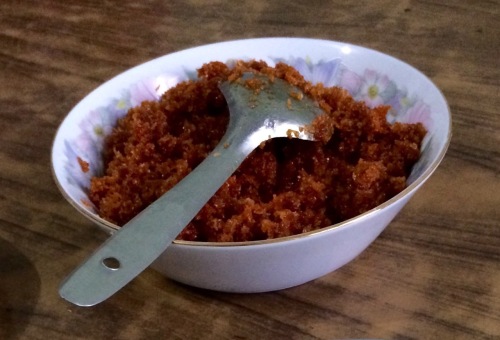
The final result of Caramel Grated Coconut – Sai Maprow -ไส้มะพร้าว – Nah Maprow – หน้ามะพร้าว~
What kind of sugar should you use? Both recipes work with all sugars. In many countries, cooks use white or brown jaggery, which is a more complex type of sugar. In Thailand, some prefer palm sugar, however, in Southern Thailand we are more flexible. My family uses brown sugar, whereas the rest of the Thai community uses palm sugar. Stella preferred white sugar. Combining two kinds of sugar should work as well.
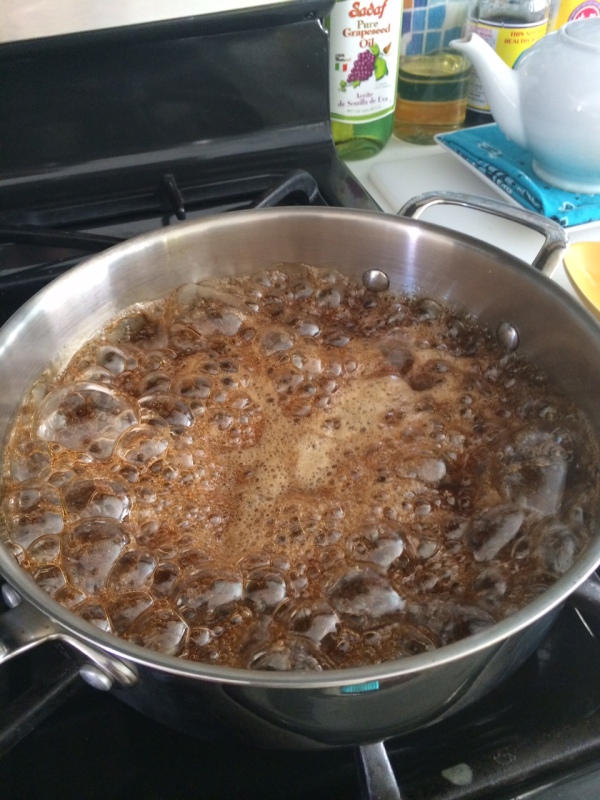
Stir brown sugar, water and salt together in a large pan. Bring to a boil, then reduce to medium heat. Allow mixture to cook without stirring until it is foamy, thick, and almost burnt, about 5 minutes.
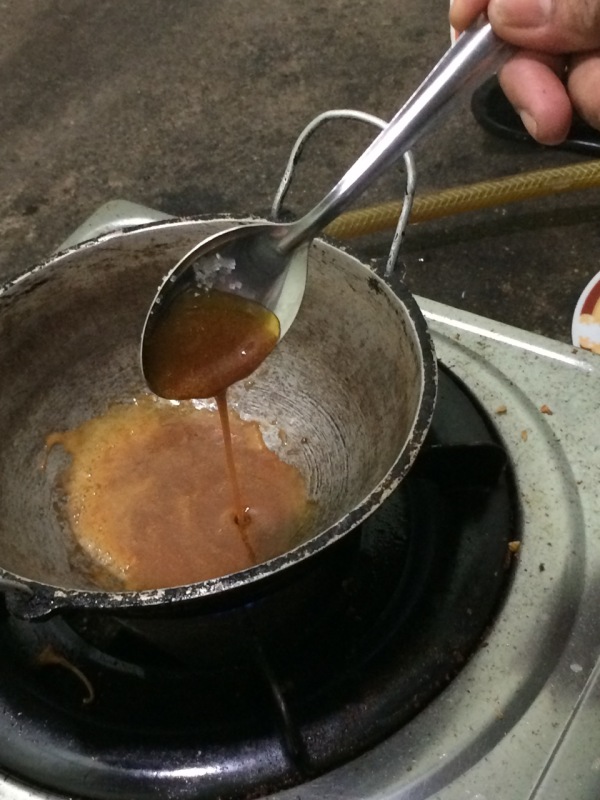
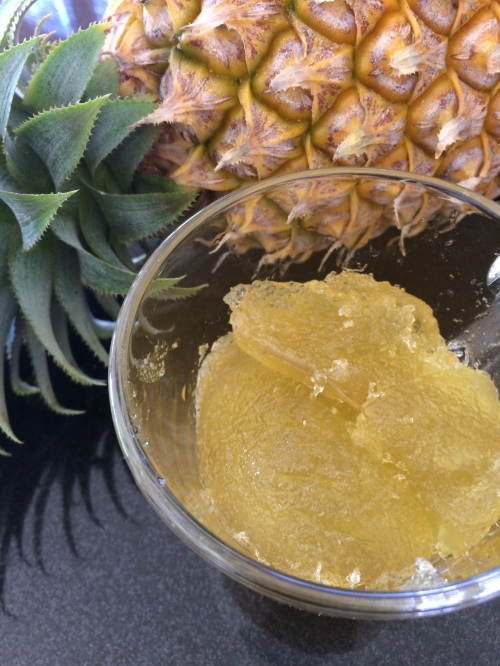
Stella’s Ttechnique of making a caramel from the sugar first before adding coconut
The sugar should take on a thin caramel-like texture like the picture above, with a hint of caramel taste or more if desired, before stirring in the grated coconut.
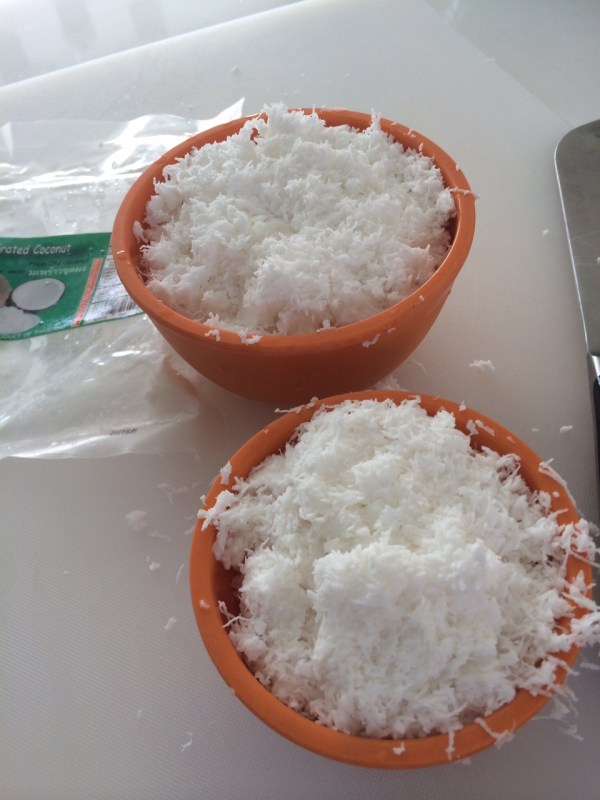
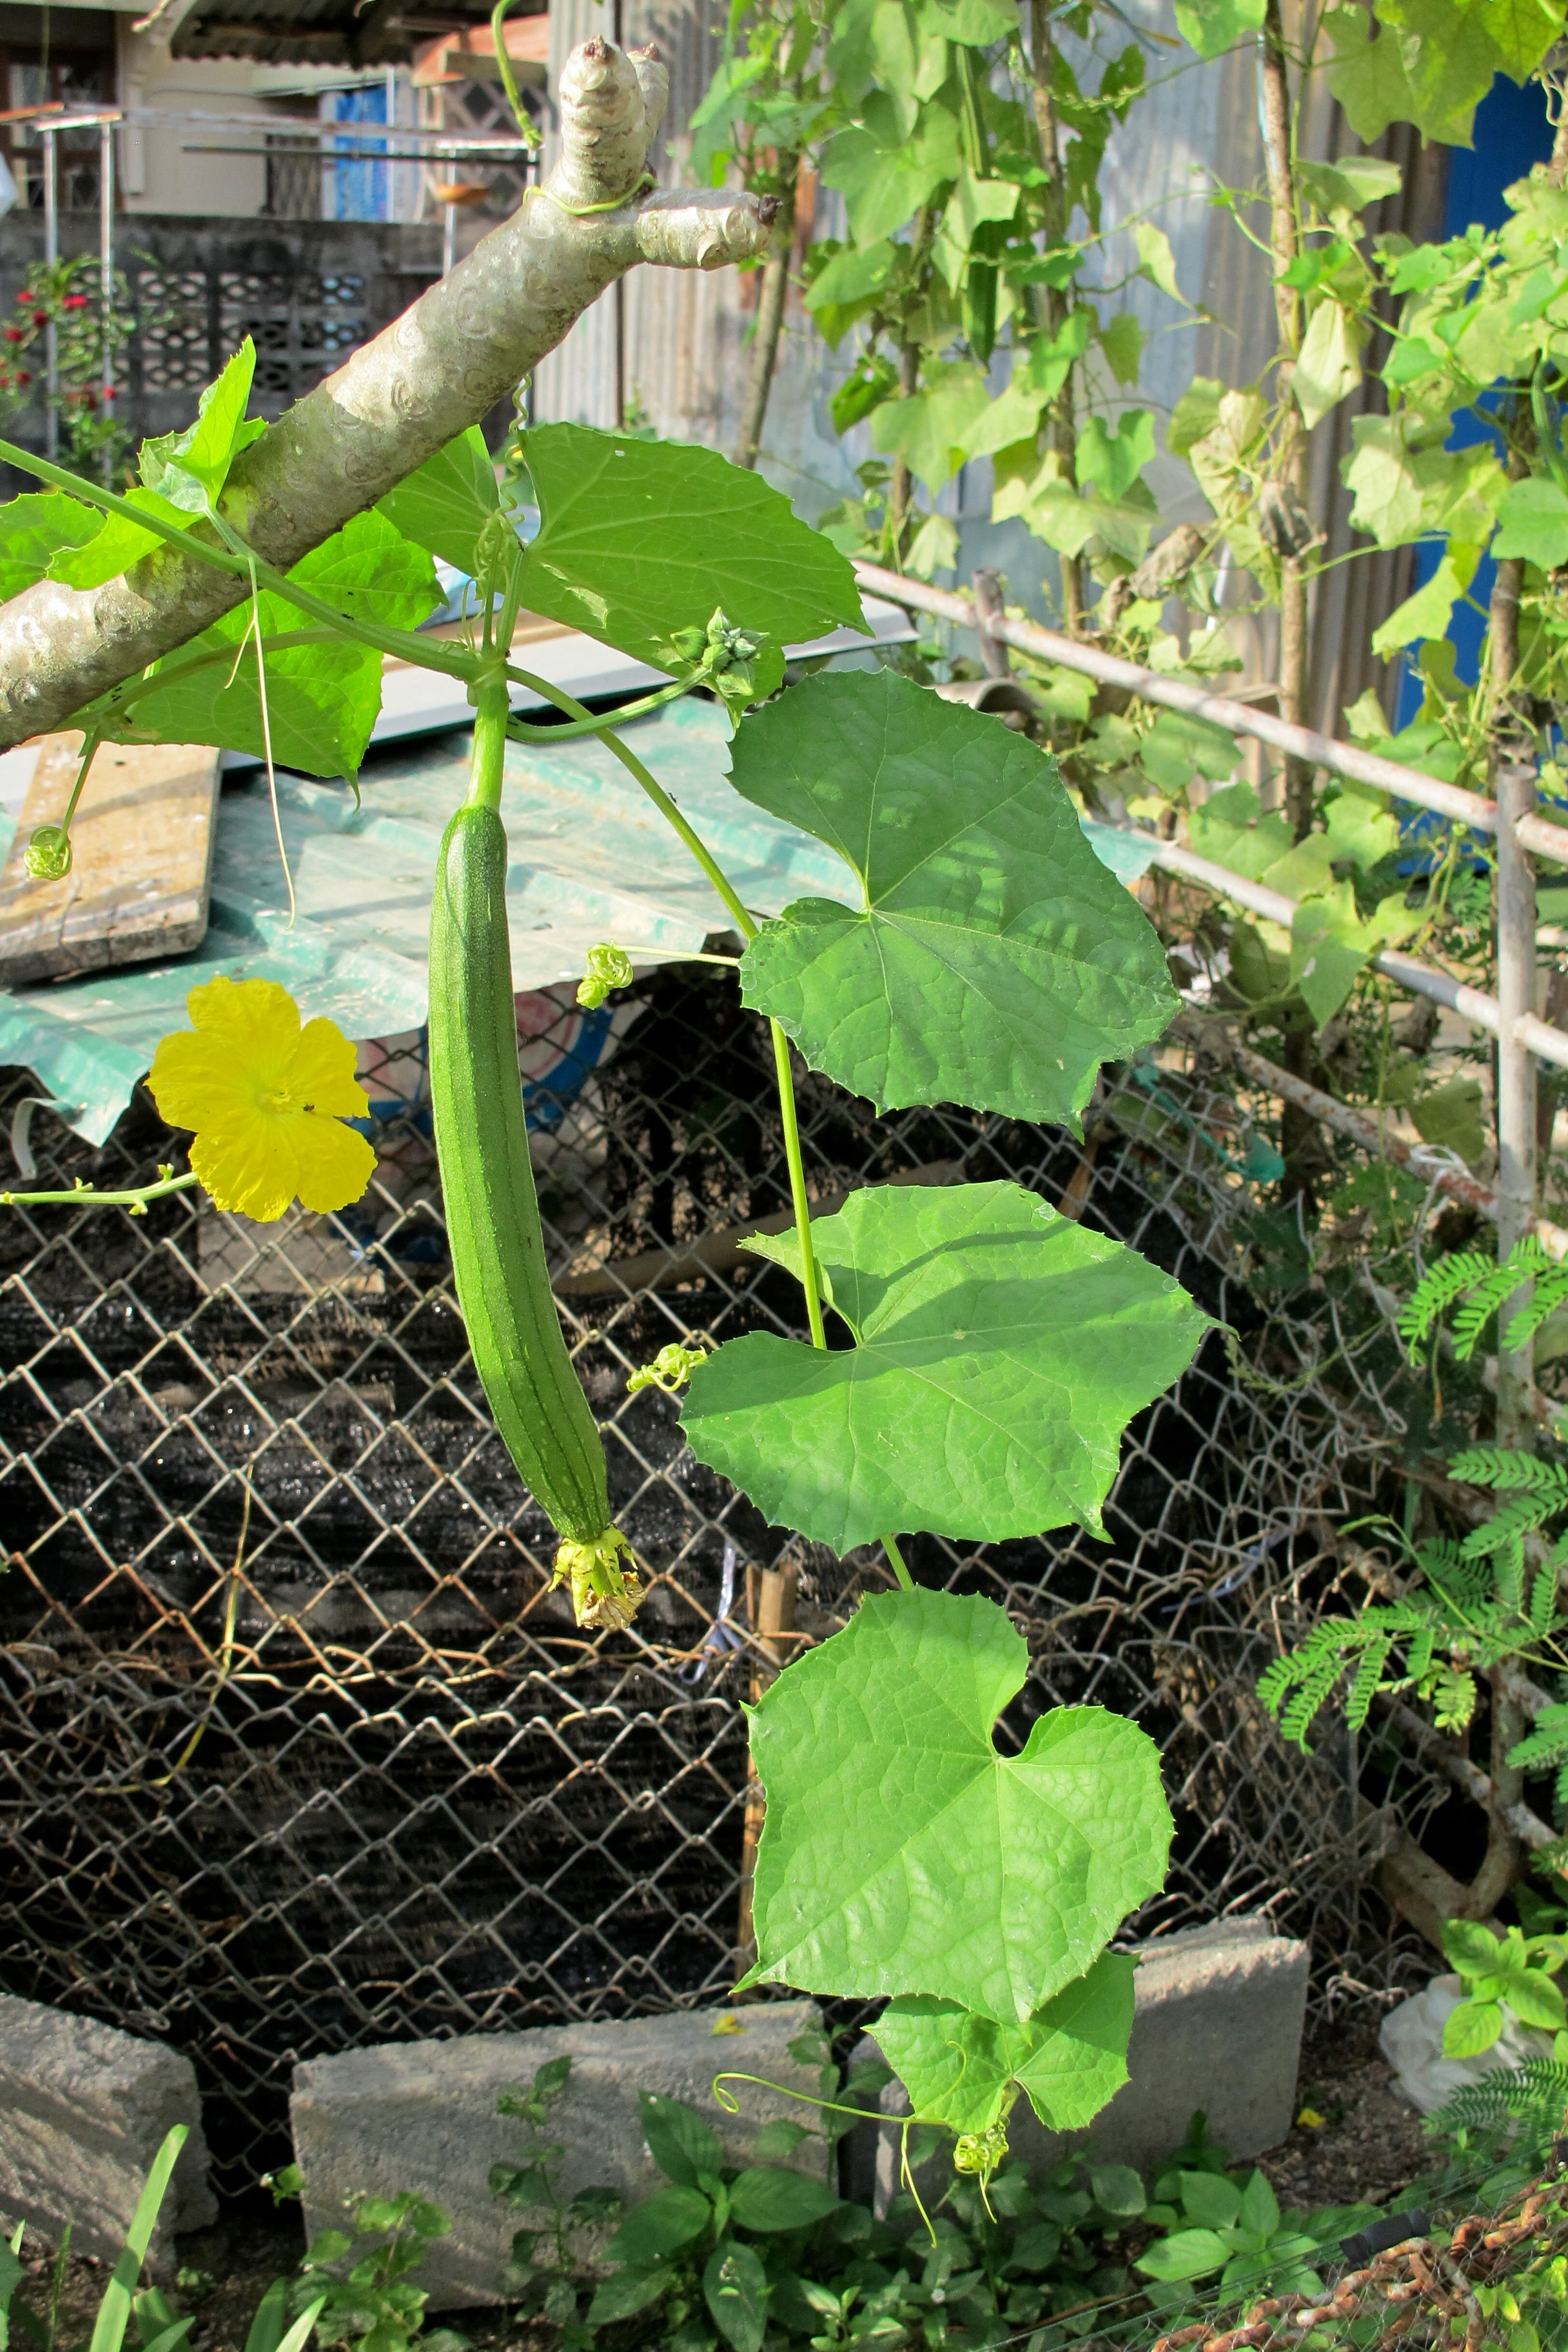
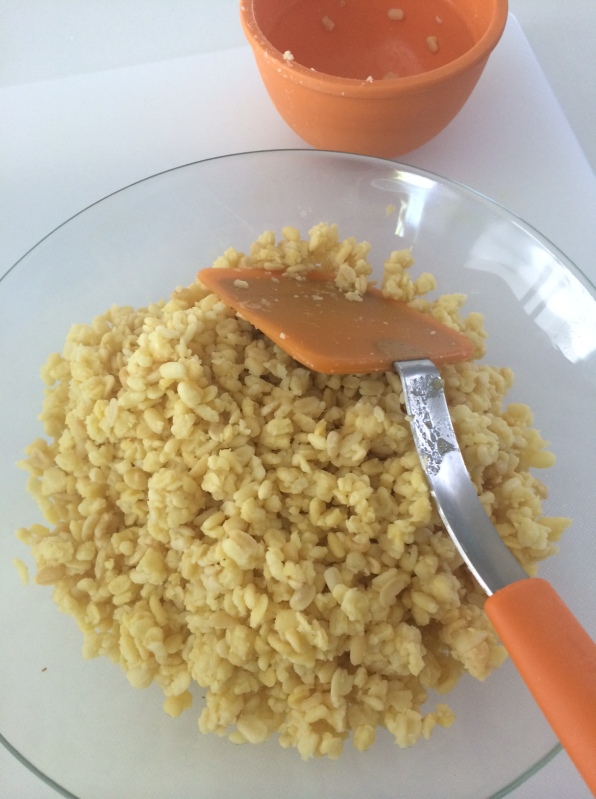
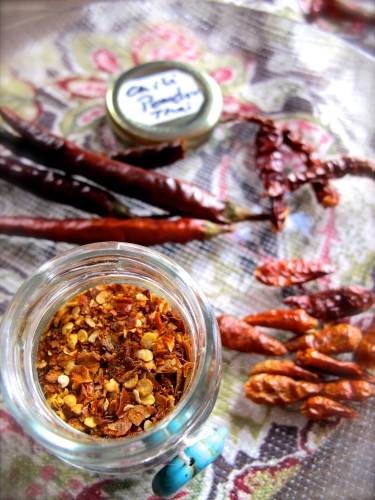
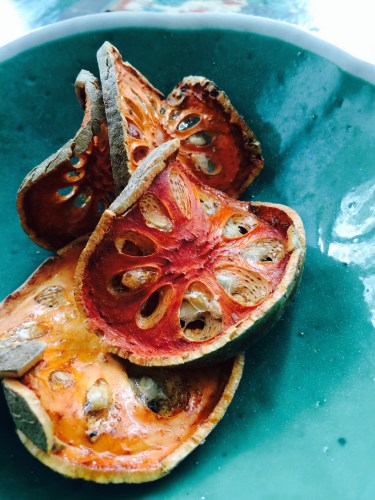
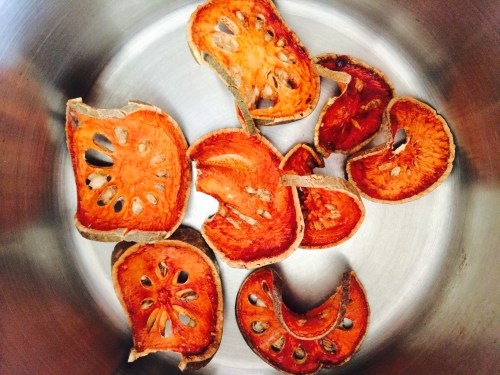
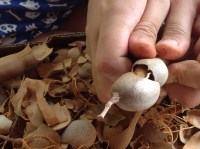
มะพร้าว – Thawed Frozen Coconut
Young coconut – Marrow Num – มะพร้าวหนุ่ม (coconuts that are six to nine months old and lack the husk of the more well-known mature coconut) is preferred in Thailand, but in America my first choice would be frozen grated coconut, followed by shredded coconut from the bakery section.
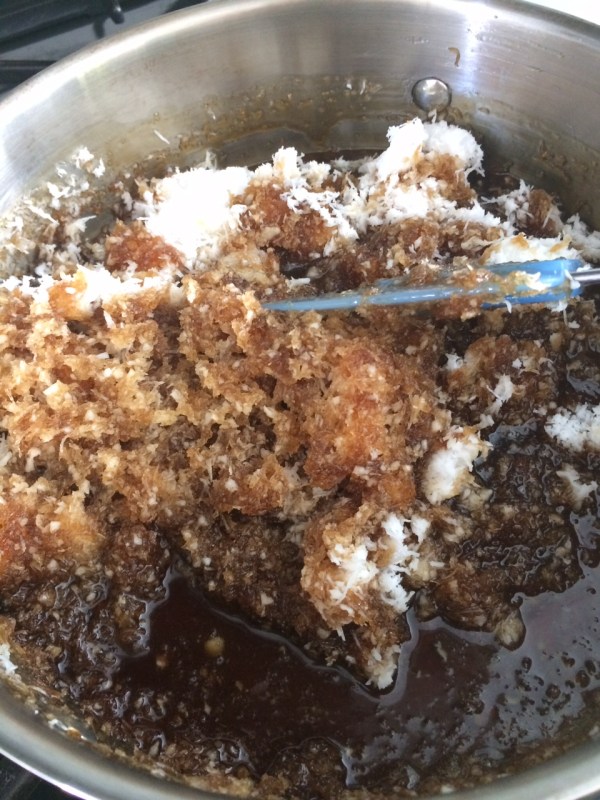
Caramel Grated Coconut – Sai Maprow -ไส้มะพร้าว – Nah Maprow – หน้ามะพร้าว
Let it cook on medium-high heat, stirring often until the liquid is almost evaporated, about 4 minutes. Then reduce the heat to low.
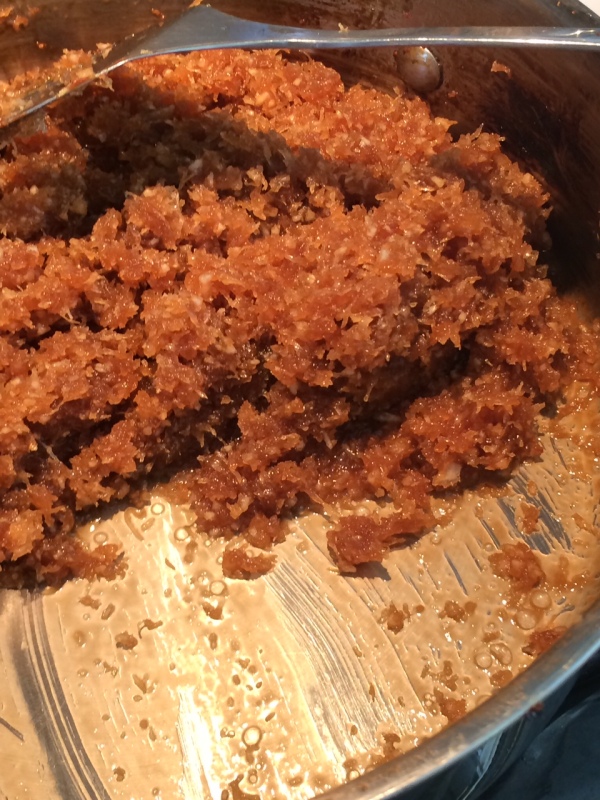
Caramel Grated Coconut for Sai Maprow -ไส้มะพร้าว – Nah Maprow – หน้ามะพร้าว
Continue cooking until you can pull the caramel coconut to the side of the pan and no liquid remains, about 3 minutes.

Caramel Grated Coconut Filling – ขนมสอดไส้
Caramel Grated Coconut
Sai Maprow-ไส้มะพร้าว
Nah Maprow – หน้ามะพร้าว
Cooking Time: 30 minutes
Yield: 50 fillings or topping balls
3 cups brown sugar
1/3 cup water
½ teaspoon salt
3 cups frozen grated coconut, thawed (see note below)
Stir brown sugar, water and salt together in a large pan. Bring to a boil, then reduce heat to medium. Allow sugar mixture to cook without stirring until it is foamy, thick, and almost burnt, about 5 minutes. The sugar should turn into a thin caramel like the picture above with a hint of caramel taste. Now stir in grated fresh or frozen (thawed) coconut.
Let the coconut mixture cook on medium-high heat, stirring often, until the liquid is almost evaporated, about 4 minutes. Adjust the heat to low and continue cooking until you can pull the caramel coconut to the side of the pan and there is no liquid left, about 3 minutes.
Remove from heat and let the mixture set until it is cool enough to handle. With cold water by your side, moisten both of your hands. Drop one tablespoon of the caramel coconut into one hand, press it into a dense ball with your other hand, then place it on a plate. If the mixture is too hot, moisten your hands again with cold water to prevent burning. Repeat the process until all of the coconut has been rolled into balls. Makes 50 balls.
Cook’s Note: Fresh, frozen, or dried grated coconut can be used in this recipe but the cooking time may vary depending on the moisture in the coconut. Pay attention to following the steps after adding the grated coconut.
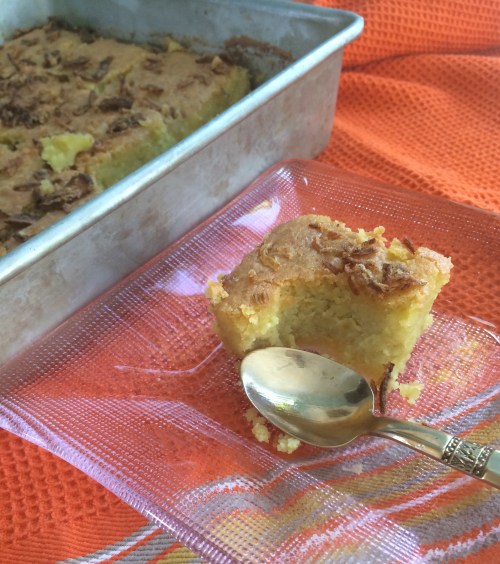
Khanom Sod Sai – ขนมสอดไส้ – Steamed Coconut Cream Pudding with Caramel Coconut Filling
© 2015 Pranee Khruasanit Halvorsen
I Love Thai cooking
Pranee teaches Thai Cooking classes in the Seattle area.
Her website is: I Love Thai cooking.com
Related Link: Cooking with Grated Coconut Recipes
~ Stir-fried Grated Coconut with Phuket Red Curry Paste (praneesthaikitchen.com)
~ Spicy Thai Coconut Chip (praneesthaikitchen.com)
~ Pinterest: Pranee’s Coconut Love Pin (Lovethaicooking)
~ Khanom Tom Khao (http://tankitchen-dessert.blogspot.com/)
Talking of coconut, Thai love all forms, all types. I put all my favorite links on my LoveThaiCooking Pinterest under Coconut Love.
Read Full Post »